Connecting to a database
On this page you’ll learn:
-
How to connect to SQL databases
-
Using a local h2-file database during development.
-
How to configure multiple datasources for your application.
Working with SQL databases
An Across application supports virtually all features of a regular Spring Boot application when it comes to working with SQL databases.
You can automatically create a DataSource instance by setting the right properties and adding a Spring Boot Starter like spring-boot-starter-jdbc or spring-boot-starter-jpa.
A database driver is required to connect to a database.
If you want to connect to a specific datasource, be sure to include a dependency to the corresponding driver in your pom.xml.
|
spring.datasource.url=jdbc:mysql://localhost/test
spring.datasource.username=dbuser
spring.datasource.password=dbpass
spring.datasource.driver-class-name=com.mysql.jdbc.Driver
See the relevant Spring Boot documentation for an overview of the possible features and Spring Boot - Data Access for more information on configuring datasources.
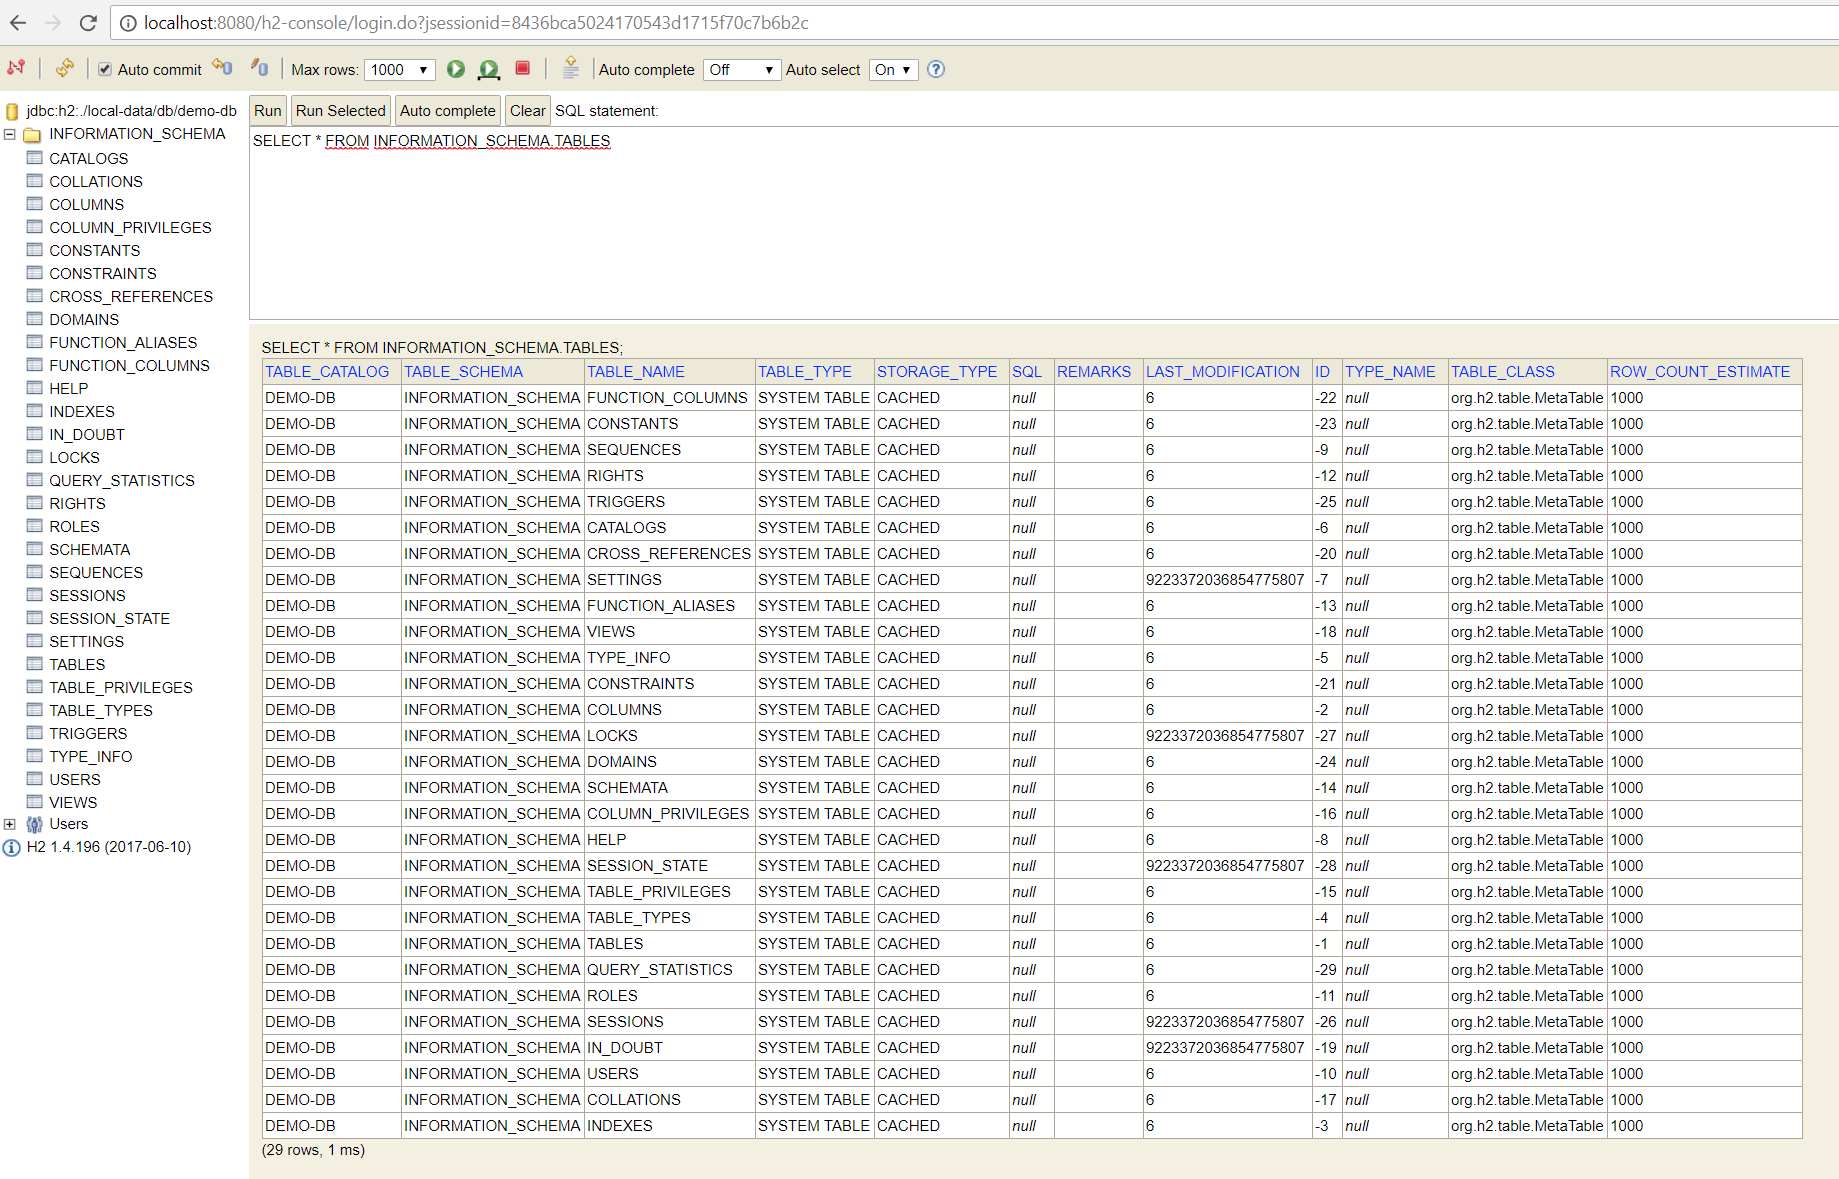
Using an h2 file database
Applications generated by Across Initializr will automatically have the spring-boot-starter-jdbc and h2 driver dependencies specified, which enables the use of h2 file databases.
In the dev application profile an h2 datasource is configured.
spring:
  datasource:
    url: "jdbc:h2:./local-data/db/demo-db"
username: sa|
When an h2 datasource is used for an Across Application, the 
To disable the h2-console, set its configuration property explicitly to false:
|
Using multiple datasources
It is also possible to configure multiple datasources to be used in your application.
To set up an application that connects with multiple databases, DataSource beans have to be configured (optionally in combination with the use of configuration properties).
Should you choose to do so, one of your DataSource instances must be marked with @Primary because (auto-)configurations expect to get one by type.
Example setup for multiple datasources
In this section we’ll be configuring the sample application with two datasources.
First, we’ll specify the properties to connect to our datasources.
app: (1)
    datasource:
        articles:
            url: "jdbc:h2:./local-data/db/articles-db"
            username: sa-articles
            password:
        users:
            url: "jdbc:h2:./local-data/db/users-db"
            username: sa-users
password:| 1 | To avoid confusion with a single datasource configured through spring, we shall use the prefix app. |
Once the datasource properties have been specified, the datasource beans can be created.
@AcrossApplication( modules = { DebugWebModule.NAME } )
public class DemoApplication {
    ...

    @Bean
    @ConfigurationProperties("app.datasource.articles") (1)
    @Primary (2)
    public DataSourceProperties articlesDataSourceProperties() {
        return new DataSourceProperties();
    }

    @Bean
    @Primary (2)
    @ConfigurationProperties("app.datasource.articles")
    public DataSource acrossDataSource() {
        DataSourceProperties properties = articlesDataSourceProperties();
        return properties.initializeDataSourceBuilder().build();
    }

    @Bean (3)
    @ConfigurationProperties("app.datasource.users")
    public DataSourceProperties usersDataSourceProperties() {
        return new DataSourceProperties();
    }

    @Bean (3)
    @ConfigurationProperties("app.datasource.users")
    public DataSource usersDataSource() {
        return usersDataSourceProperties().initializeDataSourceBuilder().build();
    }
}| 1 | The provided configuration properties for the datasource are mapped to a DatasourceProperties instance by using @ConfigurationProperties. |
| 2 | The acrossDataSource bean will be the primary datasource, as such, we annotate it with @Primary.
The @Primary annotation is used to specify which bean should be preferably wired, when multiple beans of the same type are available.
The DataSourceProperties for the primary datasource are also marked with the @Primary annotation to ensure it is the default bean to be wired should ambiguity occur. |
| 3 | An additional datasource is created, similar to the primary datasource. |
| When using multiple datasources, one datasource has to be specified as the primary datasource to be used as other (auto-)configurations or modules may attempt to use the configured datasource. |
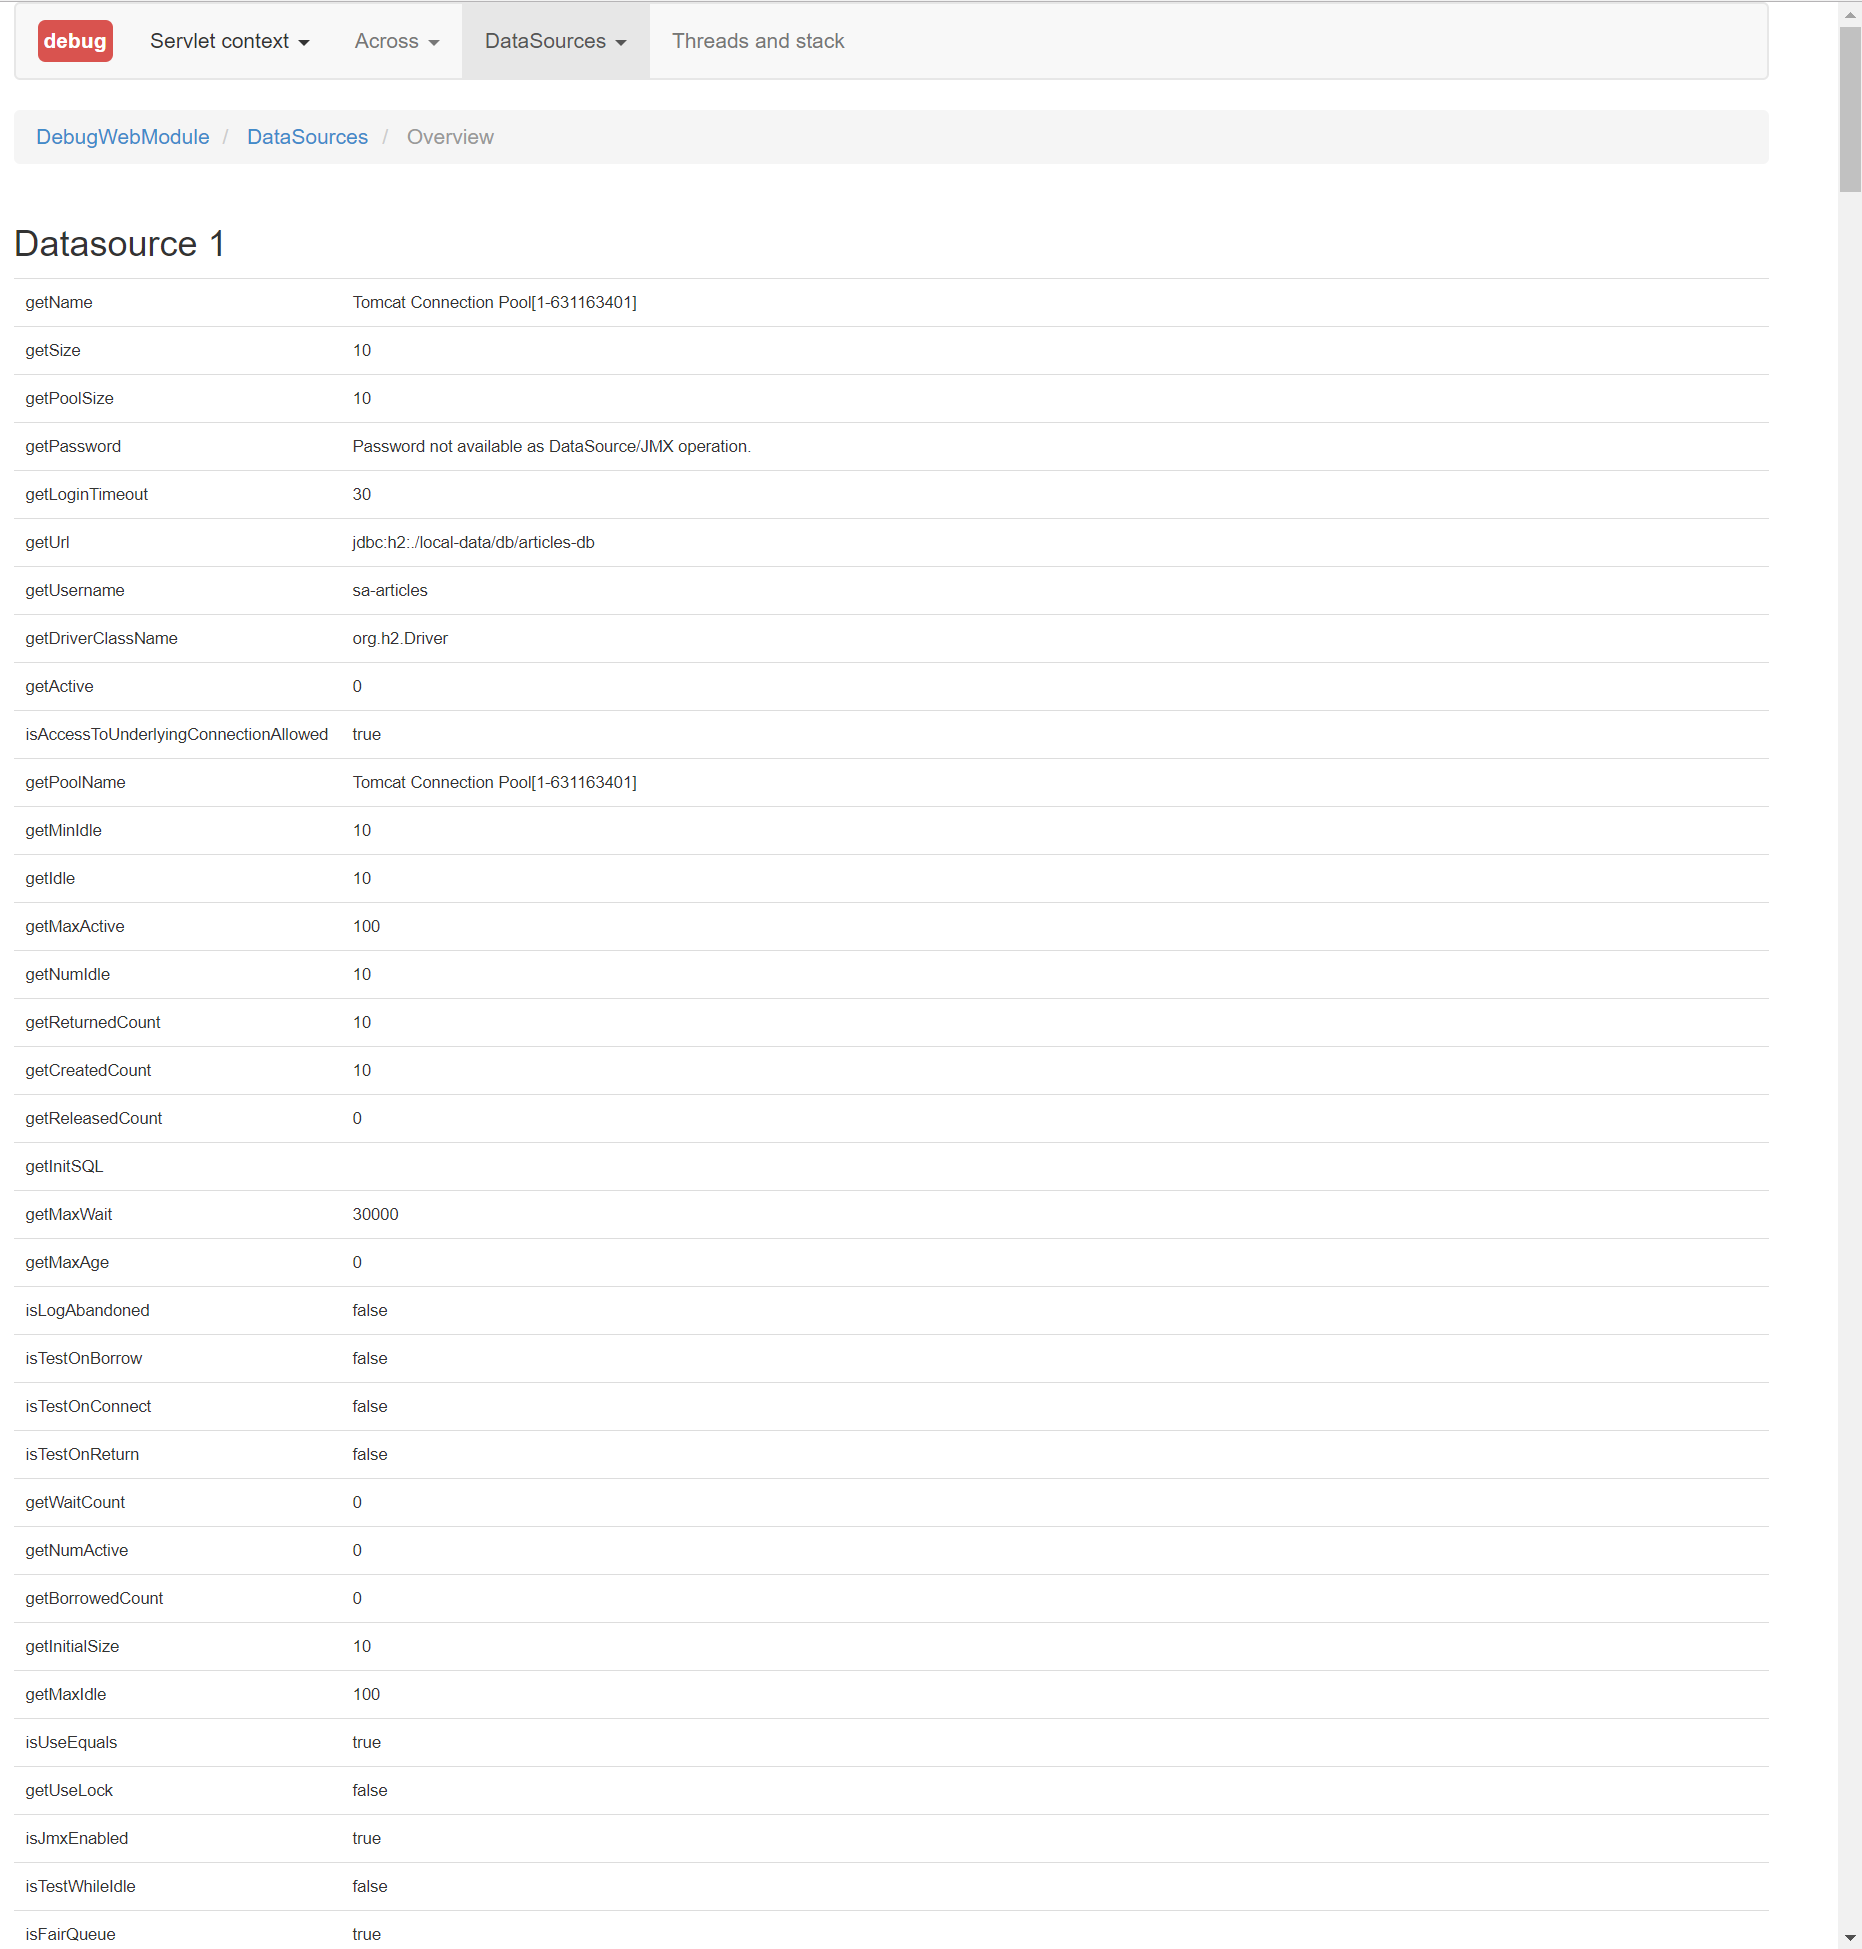
As we’ve added DebugWebModule in Adding modules, we can quickly check which datasources are used by the application.
When we navigate to the /debug path of the application, there will be a menu Datasources, with a submenu item Overview.
On the overview page, two datasources will be listed, as well as their metadata information.

The Across DataSource
An Across context supports the configuration of a DataSource instance.
If there is a primary DataSource or only a single DataSource bean available, Across will automatically use that one.
The datasource will be available for all modules as a bean named acrossDataSource.
Additionally a second datasource can be configured that will be available as the acrossInstallerDataSource.
If no separate installer datasource is specified, the default across datasource will be used.
Across only requires a datasource if you want to execute installers or use the DistributedLockRepository directly.
The datasource is used to keep track of which installers have been executed.